
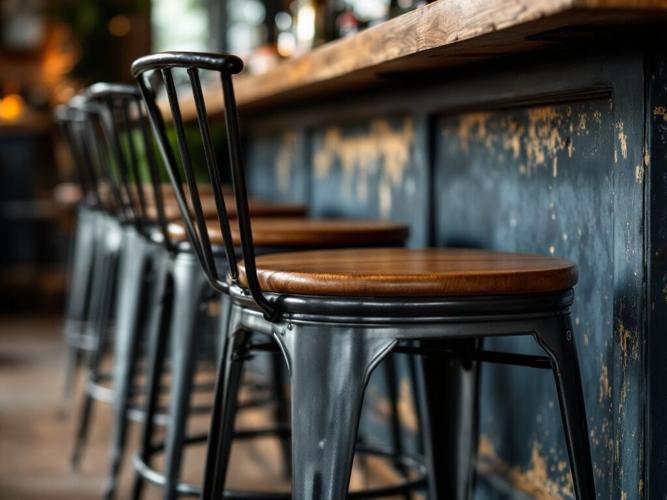
Bar stools are a fantastic addition to any kitchen, home bar, or patio. Whether you're looking to customize the height, style, or finish, building your own bar stools allows you to create something unique and personalized. Not only is this a great way to save money, but it also gives you the satisfaction of crafting something with your own hands. A custom-built bar stool can complement your existing décor and provide comfortable seating for guests.
Creating your own furniture may seem intimidating at first, but with the right tools, materials, and guidance, even a beginner can build a sturdy and stylish bar stool. This guide will take you through every step of the process, from selecting materials to adding final finishing touches. Whether you prefer a rustic, industrial, or modern look, you’ll find tips to make your stools fit perfectly in your home. If you're looking for pre-made, high-quality options, Cafe Solutions metal bar stools offer a stylish and durable alternative to DIY construction. Let's dive into this exciting DIY project and turn your vision into reality!
Materials and Tools Needed

Before you begin, gather the following materials and tools:
Materials:
Wood (hardwood such as oak, maple, or walnut is ideal for durability)
Wood glue
Wood screws (2-inch and 3-inch)
Sandpaper (80-grit and 220-grit)
Wood stain or paint
Wood filler (optional, for imperfections)
Foam padding (if adding a cushioned seat)
Fabric (for upholstery, if desired)
Metal brackets (optional, for added strength)
Rubber feet or felt pads (to prevent floor scratches)
Tools:
Measuring tape
Saw (circular saw or miter saw)
Drill and bits
Screwdriver
Clamps
Sander or sanding block
Wood chisel (optional, for finer details)
Paintbrush or rag (for finishing)
Staple gun (for upholstery)
Level (to ensure even assembly)
Step-by-Step Instructions

Step 1: Plan and Measure
Before cutting any wood, determine the height of your bar stools. Standard bar stool heights range from 24 to 30 inches, depending on the counter height. Measure the height of your counter and subtract about 10 inches for comfortable seating. Taking accurate measurements ensures that your stools will fit perfectly and provide a comfortable seating experience. Incorrect measurements can lead to an uneven or unstable final product, making the stools uncomfortable or even unsafe.
Step 2: Cut the Wood
Using a saw, carefully cut all the necessary wood pieces, ensuring precision for a well-balanced stool. You will need a 12-inch x 12-inch square or round piece for the seat, four legs cut to your desired stool height, four stretchers about 8-10 inches long for structural support, and a footrest piece for added comfort. Ensure all pieces are measured and cut consistently to achieve a symmetrical and stable build. Weak joints due to improper cuts or misaligned pieces can compromise the overall durability of the stool.
Step 3: Assemble the Frame
Start by positioning the four legs upright and attaching the stretchers between them using wood screws and wood glue for added stability. Secure all pieces together with clamps to maintain alignment before tightening the screws. Attach the footrest approximately 10 inches from the ground for a comfortable resting position. Use a level to ensure all legs are even and reinforce joints with metal brackets if extra durability is needed. Not reinforcing joints properly can result in a wobbly stool that may not hold up well over time.
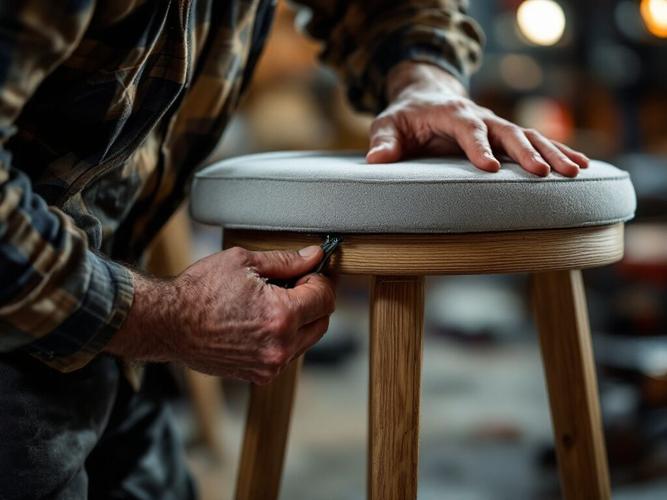
Step 4: Attach the Seat
Center the seat over the frame, marking the positions where the screws will go. Drill pilot holes to prevent the wood from splitting, then attach the seat securely using wood screws and glue for extra reinforcement. If you’re opting for an upholstered seat, complete the padding and fabric wrapping before fastening the seat to the frame. Ensuring a firm attachment will prevent wobbling and make the stool safe for everyday use. Unstable legs or an improperly secured seat can cause accidents and reduce the lifespan of your furniture.
Step 5: Sand and Finish
Smooth out any rough edges using 80-grit sandpaper, then switch to 220-grit for a refined finish. Once the surface is even, wipe away any dust before applying wood stain or paint, ensuring a smooth and polished appearance. Allow the finish to dry thoroughly before adding any optional upholstery. Finally, attach rubber feet or felt pads to protect your floors and enhance stability. Skipping sanding can result in a rough, splintery surface that is uncomfortable to sit on and difficult to paint or stain evenly. Improper staining or painting, such as applying thick layers without drying properly, can lead to a patchy or unprofessional look.
Common Mistakes to Avoid
Incorrect Measurements: Always measure twice before cutting. Mistakes in measuring can result in uneven stools that are either too short or too tall for your counter space, making them uncomfortable to use.
Weak Joints: Use both screws and wood glue for extra durability. Loose connections can lead to instability and potential breakage over time.
Skipping Sanding: Smooth edges prevent splinters and enhance the finish. Rough surfaces not only look unprofessional but can also cause discomfort when sitting.
Improper Staining or Painting: Apply thin layers and allow proper drying time. Rushing through the finishing process can result in blotchy, uneven coatings that don’t last long.
Unstable Legs: Use a level to ensure all legs are even before securing them. Uneven legs will make the stool wobbly and unsafe to use.
Not Reinforcing Joints: Use brackets or additional fasteners if needed for extra stability. Failing to reinforce connections properly can lead to structural weaknesses and a shorter lifespan for your stools.
Building your own bar stools is a rewarding and creative project that allows you to customize your furniture to match your home’s aesthetic. It’s a cost-effective way to add stylish and functional seating to your space while giving you the opportunity to work with your hands and develop your craftsmanship skills. By following this guide, you can craft sturdy, stylish, and functional bar stools tailored to your needs.
Whether you're making a single stool or an entire set, careful planning and attention to detail will ensure a high-quality final product. Experiment with different designs, finishes, and upholstery options to make your stools truly unique. Taking the time to personalize your furniture not only adds charm to your home but also brings a sense of accomplishment. Avoiding common mistakes such as incorrect measurements, weak joints, or improper finishing will help ensure a long-lasting and professional-looking piece of furniture. Enjoy the process, and happy building!


(0) comments
Welcome to the discussion.
Log In
Keep it Clean. Please avoid obscene, vulgar, lewd, racist or sexually-oriented language.
PLEASE TURN OFF YOUR CAPS LOCK.
Don't Threaten. Threats of harming another person will not be tolerated.
Be Truthful. Don't knowingly lie about anyone or anything.
Be Nice. No racism, sexism or any sort of -ism that is degrading to another person.
Be Proactive. Use the 'Report' link on each comment to let us know of abusive posts.
Share with Us. We'd love to hear eyewitness accounts, the history behind an article.